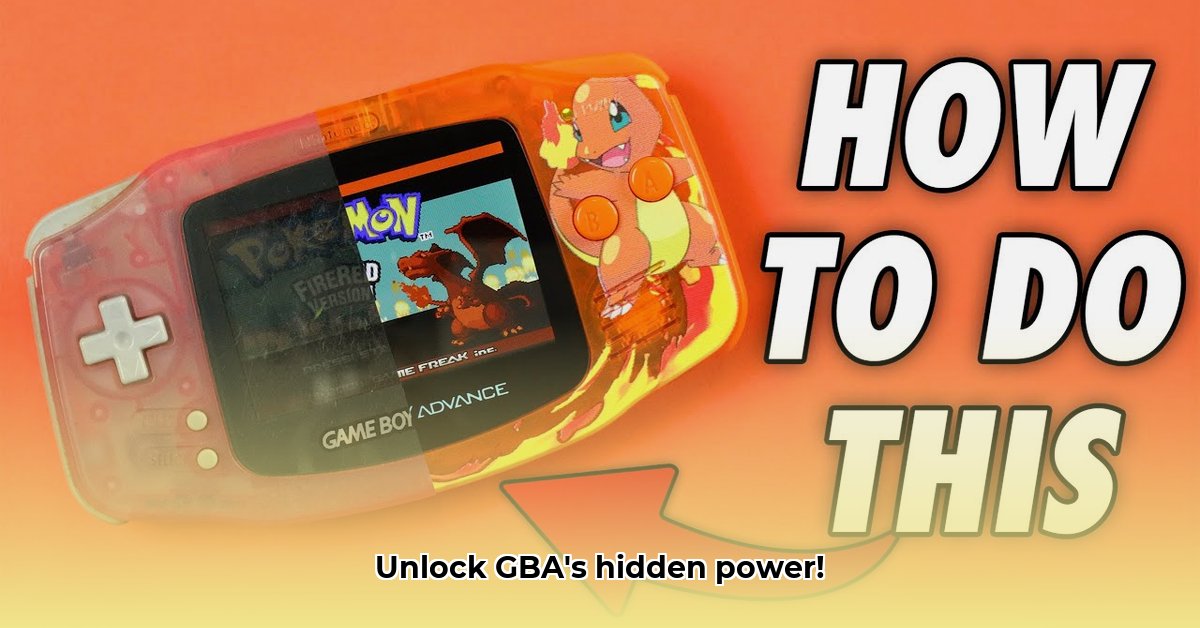
Ready to revitalize your classic Game Boy Advance (GBA)? This comprehensive guide provides step-by-step instructions to upgrade your handheld console with modern modifications, from installing brighter screens to adding custom backlights and stylish shells. Whether you're a seasoned modder or a complete beginner, we'll equip you with the knowledge and confidence to transform your GBA into a visually stunning and enhanced gaming experience.
Revitalizing Your Retro Handheld: Why Mod Your GBA?
Why invest time and effort in modding your GBA? The benefits are substantial, transforming a dated console into a modern gaming powerhouse. Upgrading significantly improves the overall gameplay experience.
- Enhanced Visuals: Original GBA screens suffer from low brightness and washed-out colors. Modern IPS (In-Plane Switching) kits replace the original screen with a significantly brighter, sharper, and more color-accurate display. This makes games look dramatically better.
- Improved Backlighting: Adding a backlight allows for comfortable gaming in low-light conditions, eliminating the need for external lighting.
- Extended Battery Life: While not directly part of the screen upgrade, opting for modded batteries can dramatically extend play sessions.
- Aesthetic Customization: Replacing the console's shell allows for personalized customization, letting you create a one-of-a-kind gaming device.
Choosing the Right IPS Kit: A Buyer's Guide
The heart of most GBA mods is the IPS screen upgrade. Several manufacturers produce high-quality kits, each with its own strengths and weaknesses. Choosing the right one depends on your priorities and skill level.
Key Considerations:
- Brightness: Higher brightness is ideal for outdoor play but may impact battery life. Consider your typical gaming environment.
- Color Accuracy: Accurate color reproduction enhances the visual fidelity of your games. Some kits outperform others in this regard.
- Installation Difficulty: "No-soldering" kits are easiest for beginners, while others require soldering skills.
- Price: Prices vary significantly. Match your budget with the features you desire. Don't automatically choose the cheapest option; consider the long-term value and reputation of the manufacturer.
- Pixel Grid: Some IPS screens mimic the original GBA's pixel grid for a more authentic retro feel.
Popular IPS Kit Manufacturers:
While numerous companies offer GBA IPS kits, FunnyPlaying and Hispeedido are popular choices. It's vital to read reviews from multiple sources before making a purchase.
- FunnyPlaying: Often praised for wide availability and relatively straightforward installation.
- Hispeedido: Known for superior color accuracy, although often at a higher price point.
Installing an IPS Kit (Beginner-Friendly, No Soldering Required): A Step-by-Step Guide
This section focuses on "no-soldering" IPS kits, perfect for beginners. But remember: even simple mods demand meticulous care.
Before You Begin:
- Power Down: Completely power off your GBA.
- Gather Tools: You'll need a small Phillips head screwdriver and plastic opening tools to prevent scratches.
- Consult the Instructions: Each kit's instructions differ. These are your primary guide!
Step-by-Step Installation:
- Careful Disassembly: Gently open the GBA shell. Many online video tutorials demonstrate safe disassembly techniques. Take your time and proceed methodically. Photography can help you track progress.
- Removing the Original Screen: Carefully disconnect the original screen's ribbon cable. Observe how it's connected for easy reassembly.
- Installing the IPS Screen: Connect the new IPS screen's ribbon cable to the GBA motherboard. Double-check cable alignment to prevent issues.
- Reassembly: Carefully reassemble your GBA. Ensure all parts are securely connected.
- Testing: Power on your GBA and enjoy the vastly improved display!
Advanced Mods (Soldering Required): Unleashing Your Inner Tech Wizard
For those with soldering experience and comfort working with electronics, more advanced modifications become possible. These include installing custom backlights (such as RGB backlights for customizable colors), or even adding new buttons.
Crucial Safety Precautions:
- Proper Tools: Use a well-maintained soldering iron and appropriate solder.
- Ventilation: Work in a well-ventilated area to avoid inhaling fumes.
- Patience: Rushing increases the risk of mistakes and damage.
- Practice: If unsure, practice soldering on scrap electronics first.
Custom Shells and Accessories: Personalizing Your GBA
Beyond internal upgrades, consider a new shell to personalize your GBA's aesthetic appeal. Many online retailers offer custom-colored shells and unique designs. This final touch truly makes the console your own.
Troubleshooting Common Issues: Solving Problems During Installation
Even experienced modders face occasional setbacks. Here's a quick guide to common problems and solutions:
- Screen Issues: Check all connections. Loose or misaligned ribbon cables are the most common culprits.
- Power Problems: Verify your battery's charge and the cleanliness of the battery contacts.
- Soldering Issues (Advanced Mods): Inspect solder joints for any cold solder joints (poor connections) or shorts (unintended electrical paths).
Conclusion: Embark on Your GBA Modding Journey
Upgrading your GBA is a rewarding experience, blending technical skill with a touch of personal creativity. Remember: careful preparation, patience, and a focus on safety are key to a successful modification. Enjoy your revitalized retro gaming experience!
⭐⭐⭐⭐☆ (4.8)
Download via Link 1
Download via Link 2
Last updated: Sunday, May 04, 2025